From Tips

Customize Terminal Colors by Directory Using iTerm2

A lot of users responded to my VS Code color customization post with requests to do something similar in their terminal. Luckily, if you’re a Mac user, there is an option that’s easy to configure and works really well.

Instead of using the built-in Terminal application, I use iTerm2. It builds upon the standard terminal and adds a lot of really nice features like split panes, profiles, triggers and more!

For this post, we’ll be focusing on one of my favorite features, profiles.

Profiles allow you to change the behavior of the terminal window by simply switching the profile you are using. Modifications can include colors, fonts, window size, key mappings, etc.

There’s a hidden option on profiles that’s buried in the Advanced tab called Automatic Profile Switching. The writeup is understandably complex if you look at the documentation. iTerm2 can use information it knows about your current path, host name, and user name to change profiles.

This is exactly what we need to configure the auto switching behavior we are looking for. By cloning your default profile, you can customize the colors however you’d like. Then, using the Automatic Profile Switching, configure iTerm to automatically use the profile when you enter the directory.

Here’s an example of how I have mine setup.
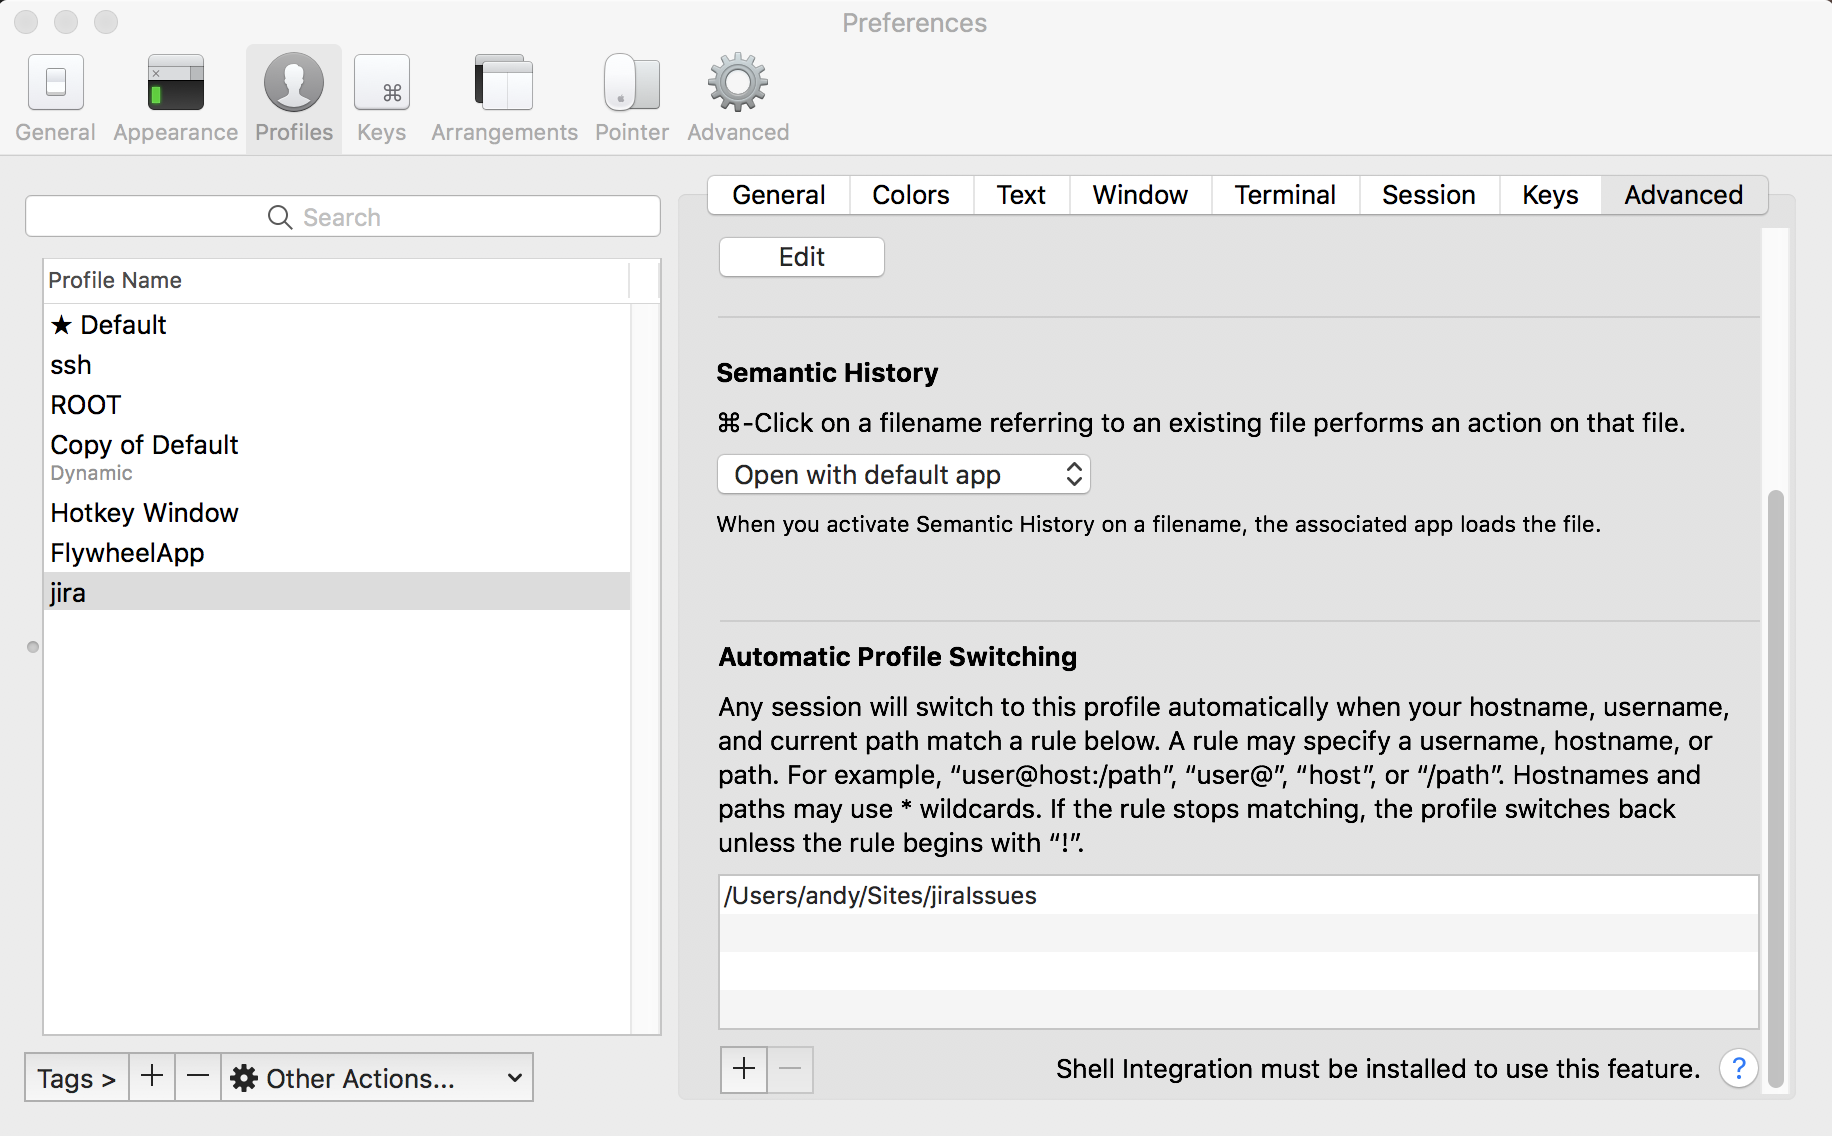
iTerm2 Profile Advanced Tab

With this setup. Anytime I enter the /Users/andy/Sites/jiraIssues directory, iTerm2 will automatically switch the profile to use jira. You can see this in action in the quick gif below.

As you can see, as soon as I enter the directory the colors change and the jira profile is in effect. When i change back to my home directory, the default profile takes over again.

This method can be used to visually identify when you enter a directory in your terminal session.

Hopefully you found this helpful. Leave a comment below if there’s something I missed.
Git Ignore VS Code Workspace settings

When you add a lot of workspace or project specific VS Code settings files, Git likes to try and track those files. This is okay if you are working on your own project, but less than ideal if you are working on an open source project, or on a team.

This post will talk about options you can add to globally ignore VS Code settings files from all of you Git projects.

Configure an excludesfile in your .gitconfig file.

On Mac, you should be able to fine a .gitconfig file in your user’s home directory. You can edit the file to add the following. The path found here will define the file location to a global ignore file.

[core]
  excludesfile = /Users/andy/.gitignore_global

Add VSCode settings files to the global ignore file

Once you have Git configured to look for a global exclude file, you can add the .vscode/ directory to the file. This is the pathing that VS Code uses when storing workspace specific settings.

.vscode/

And that’s it! You won’t have Git constantly tracking your .vscode directory anymore.

Feel free to comment below if I’ve left anything out of or if you have anything questions.

Workspace Specific colors in VS Code

So today I sent out an innocent little tweet. (That happened to get retweeted by the official VS Code account)

I’ve had lots of responses asking how I did it. So I whipped up this quick post to walk you through to process.

TLDR: There isn’t a one-click option to do this.

TLDRv2: Apparently the Peacock extension is capable of something similar. Try it out and let me know how it goes!

Since VS Code is based on Electron/Chromium, you have access to a whole level of customizations that you would never have. Combine this with VS Code’s ability to have workspace specific settings files and you have all you need to setup your environment.

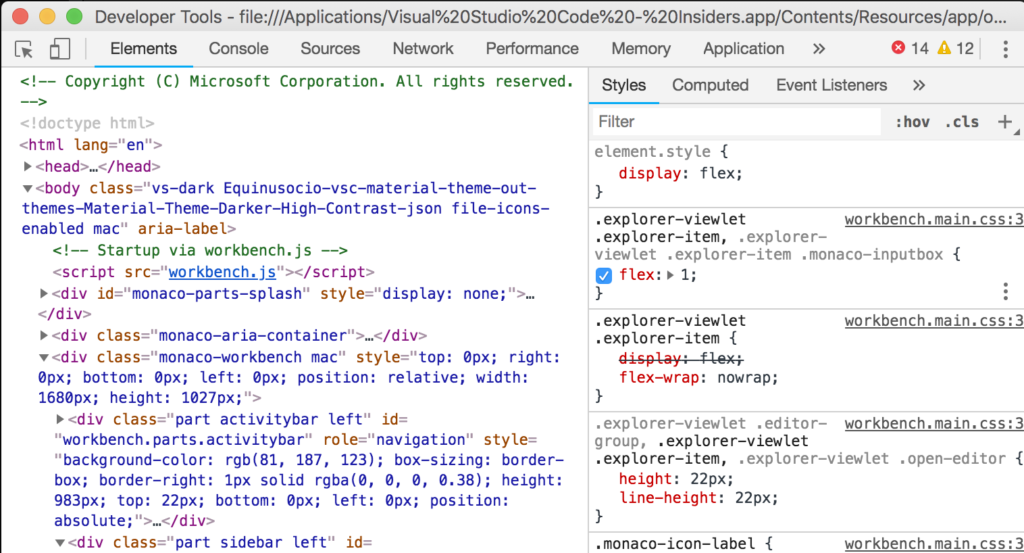
By opening Developer Tools, ⌘ + ⌥ + I or by selecting from the help menu, you get access to Chrome-like set of tools that you can use to inspect the editor.

As you can see, you can customize things via a CSS-like syntax and see changes in the editor in real time. The problem being that it doesn’t persist.

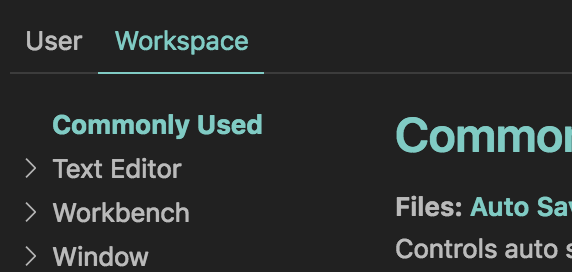
Enter project specific settings files. By opening your settings, ⌘ + ,, you can select the Workspace tab to customize things specific to the workspace you are in.

From there, I choose to update my settings in JSON mode. It’s easier for me when customizing the appearance settings like color.

In a section for "workbench.colorCustomizations", you can add any customizations you want. I pulled the one’s I wanted by using the inspector to find the elements I wanted to customize.

{
	"workbench.colorCustomizations": {
		"activityBar.background": "#8351a0",
        "statusBar.background": "#5e3a74",
        "statusBar.foreground": "#b3b3b3",
        "scrollbarSlider.activeBackground": "#8351a0",
        "editorSuggestWidget.highlightForeground": "#b3b3b3",
        "titleBar.inactiveBackground": "#5e3a74",
		"titleBar.activeBackground": "#8351a0",
        "progressBar.background": "#8351a0",
        "pickerGroup.foreground": "#8351a0",
		"tab.activeBorder": "#8351a0",
		"list.highlightForeground": "#8351a0",
	}
}

From there, I picked 2 complementary colors for each project, one slightly lighter than the other. In this case #5e3a74 and #8351a0.

By customizing these settings, the appearance of my VS Code window changes based on the workspace that is open. By setting this up in my main workspaces, it makes them much easier to find when I have multiple workspaces open.

Hopefully that helps! Feel free to reply to my tweet, or leave a comment below if you have any additional questions.

Tip: How to add workspace specific settings to a global Git ignore file

Colors:
Purple: #5e3a74 #8351a0
Green: #2c6442 #51bb7b
Orange: #bb5f23 #fab889